If you’ve ever browsed an online store, saved a product you loved, then come back days later to buy it — you already understand why wishlists work. They’re not just a nice-to-have feature. They’re one of the simplest tools a store owner can add to meaningfully improve sales and bring customers back.
The good news: if you’re running a FluentCart store on WordPress, you can have a fully working wishlist live in under 15 minutes. No developer needed, no code to write.
Why a Wishlist Feature Is Worth Adding
Before we get into the setup, it’s worth understanding what you’re actually getting.
Wishlists keep customers coming back. A shopper who isn’t ready to buy today might save your product and return next week. Without a wishlist, that intention disappears the moment they close the tab. With one, you’ve given them a reason to come back — and a direct path to checkout when they do.
Wishlists tell you what customers want. When people add products to a wishlist, they’re signaling buying intent without completing a purchase. That data is valuable. Which products get saved most? Which variations? If you’re using a tool like FluentCRM alongside your store, you can use wishlist activity to trigger targeted follow-up emails — more on that at the end.
Wishlists reduce decision fatigue. Customers browsing a larger catalog can save products as they go instead of trying to remember what caught their eye. That makes the eventual purchase decision easier, not harder.
The plugin we’ll be using is GoWishCart — the only free wishlist plugin built natively for FluentCart. Most wishlist plugins were built for WooCommerce and simply don’t work correctly with FluentCart’s cart and checkout system. GoWishCart is different because it was designed specifically for FluentCart from the start.
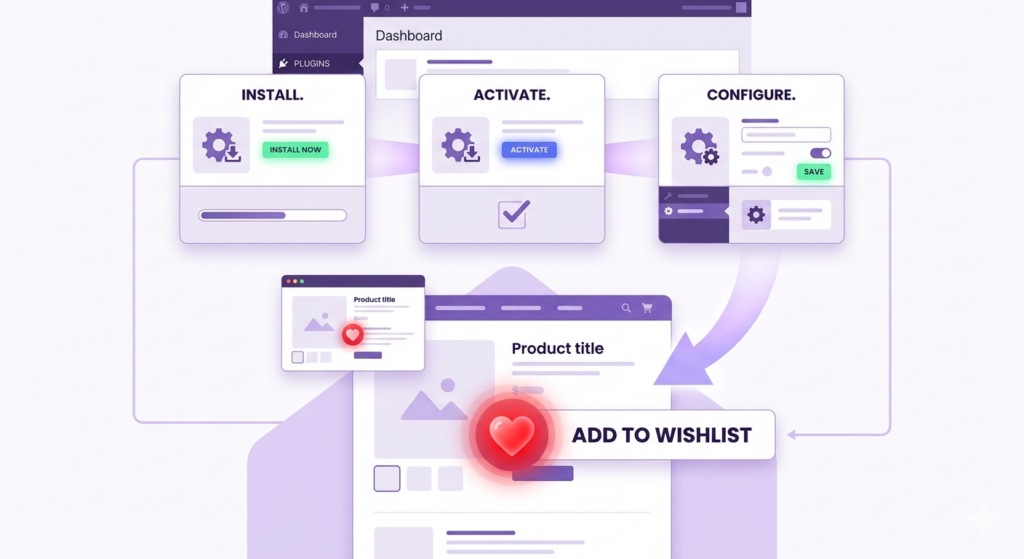
Step 1: Install GoWishCart from WordPress.org
Log in to your WordPress admin dashboard and head to Plugins → Add New Plugin in the left sidebar.
In the search box, type GoWishCart. When the plugin appears in the results, click Install Now. WordPress will download and install it automatically. Once that’s done, the button will change to Activate — click that too.
That’s it. The plugin is now running on your site.
Alternatively, you can visit the GoWishCart page on WordPress.org, download the
.zipfile, then go to Plugins → Add New Plugin → Upload Plugin and upload the file from your computer.
Step 2: Create Your Wishlist Page
GoWishCart needs a dedicated page on your site to display each customer’s saved products. This is the page your customers will visit to review and manage their wishlist.
Go to Pages → Add New Page in your WordPress dashboard. Give it a simple title like My Wishlist or Saved Items.
In the page editor, add this shortcode in the content area:
[gowishcart_wishlist]This shortcode tells GoWishCart to render the full wishlist interface on this page — product thumbnails, saved items, prices, and the option to add each item directly to the cart. Publish the page when you’re done.
Step 3: Point GoWishCart to Your Wishlist Page
Now you need to tell the plugin which page you just created. Navigate to FluentCart → GoWishCart → Settings in your admin sidebar.
Under the General tab, you’ll see a Wishlist Page dropdown. Open it and select the page you just created. Save your settings.
This is what connects the “Add to Wishlist” buttons on your product pages to the actual wishlist display. Without this step, the buttons won’t know where to send customers.
Step 4: Enable the Button on Your Shop and Product Pages
Still inside the GoWishCart settings, look for the Button Display section. Here you’ll find options to enable the wishlist button on:
- Individual product pages — shown near the product details
- Shop/catalog pages — shown on product cards as customers browse
Turn on whichever placements make sense for your store. For most stores, enabling both is the right call. Customers browse the catalog, spot something they want to save, and click the heart icon without having to open the full product page.
Save your settings, then visit your shop page to confirm the buttons are appearing where you expect.
Step 5: Customize the Button (Text, Icon, and Position)
GoWishCart gives you straightforward controls to make the wishlist button feel like it belongs in your store rather than looking like an afterthought.
In GoWishCart → Settings → Button Appearance, you can adjust:
Button Text. By default the button might say “Add to Wishlist.” You can change this to anything — “Save for Later,” “♡ Save This,” or even just leave it as an icon with no text if your design calls for it.
Icon Style. GoWishCart includes a set of icons to choose from, including filled and outline heart styles. Pick whichever fits your store’s visual language. If you want a completely custom icon, you can upload your own SVG.
Button Position. This controls where the button appears relative to the product card. Common options include:
- Below the product title
- Below the price
- Below the Add to Cart button
- As an overlay icon in the corner of the product image
There’s no single “right” position — it depends on how your theme lays out product cards. Try a couple of options and see what looks natural with your existing design.
Once you’re happy with how it looks, save and do a quick visual check on both your product listing page and an individual product page.
Step 6: Test the Full Flow
Before you call it done, walk through the experience as a customer would.
Open your shop page in a browser tab (or use an incognito window to simulate a logged-out guest). Click the wishlist button on a product. Then navigate to the wishlist page you created. Confirm the product appears correctly — with the right name, price, and an Add to Cart button that works.
Then try clicking Add to Cart from the wishlist page and completing the checkout flow. Everything should move through FluentCart’s native cart and checkout without any issues.
If you’re selling products with variations (like sizes or colors), test that too. Save a specific variation and confirm it shows up correctly on the wishlist page.
Optional: Connect FluentCRM for Automated Follow-Ups
If you’re already using FluentCRM to manage your email marketing, GoWishCart has a built-in integration worth enabling.
In GoWishCart → Settings → Integrations, you can connect your FluentCRM account. Once connected, you can set up automated tags that get applied to customers when they add products to their wishlist.
From there, FluentCRM’s automation builder takes over. A few ideas to get you started:
- Price drop alert: Tag wishlist customers and trigger an email when a wishlisted product goes on sale
- Abandoned wishlist: Send a reminder sequence to customers who saved products but haven’t purchased after a few days
- Back in stock: Notify wishlist customers when an out-of-stock item becomes available again
These automations run entirely inside FluentCRM — GoWishCart just sends the signal. If you haven’t explored FluentCRM’s automation features yet, this is a good reason to.
You’re Done — Your Store Now Has a Wishlist
From install to live wishlist in about 15 minutes, no developer required. GoWishCart handles everything natively inside FluentCart, so prices, variations, cart behavior, and checkout all work exactly as expected.
→ Install GoWishCart free from WordPress.org and give your customers a reason to come back.