On this page
FluentCart is a fast, modern ecommerce plugin for WordPress, but it doesn’t ship with a wishlist. This guide shows how to add one with GoWishCart in a few minutes — no code required.
What you need
- WordPress 5.0 or newer and PHP 7.4 or newer
- FluentCart, installed and active
- Optional: FluentCRM if you want automation triggers
Step 1: Install GoWishCart
- In your WordPress admin, go to Plugins → Add New.
- Search for GoWishCart.
- Click Install Now, then Activate.
GoWishCart checks that FluentCart is active. If it isn’t, activate FluentCart first.
Step 2: Choose your wishlist page
Open Settings → GoWishCart. GoWishCart creates a wishlist page for you, but you can select any other page instead.
If you’d rather build the page yourself, add this shortcode wherever the wishlist should appear:
[gowishcart_wishlist]Step 3: Place the wishlist button
You have three options:
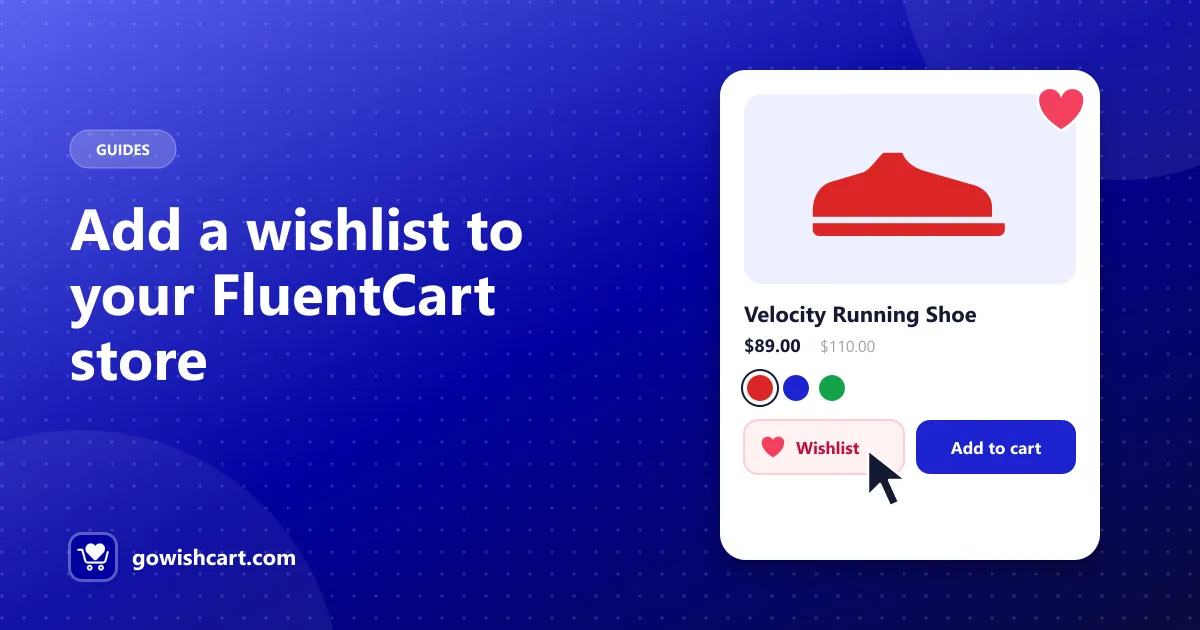
- Product pages — show the button at the top or bottom of the product details. Bottom (near Add to cart) works well for most themes.
- Shop pages — turn on Show Button on Shop Page so shoppers can save products while browsing your catalog.
- Anywhere else — drop
[gowishcart_wishlist_button]into a landing page, a block or a template.
Turn on the Remove from wishlist option too. It shows a clear “saved” state once the item is in the wishlist, which avoids confused double-clicks.
Step 4: Match your brand
Change the button labels and icons for both the “add” and “remove” states. A heart icon with Save for later or Add to wishlist is the most recognisable. Use custom CSS if you need full control over colors and spacing.
Step 5: Test it like a customer
Open your store in a private browser window and:
- Pick a variation (for example a size or color) and add it to your wishlist.
- Open the wishlist page and check that the right variant and price appear.
- Add the item to your cart from the wishlist.
Because GoWishCart supports guest wishlists, this works without logging in.
Next steps
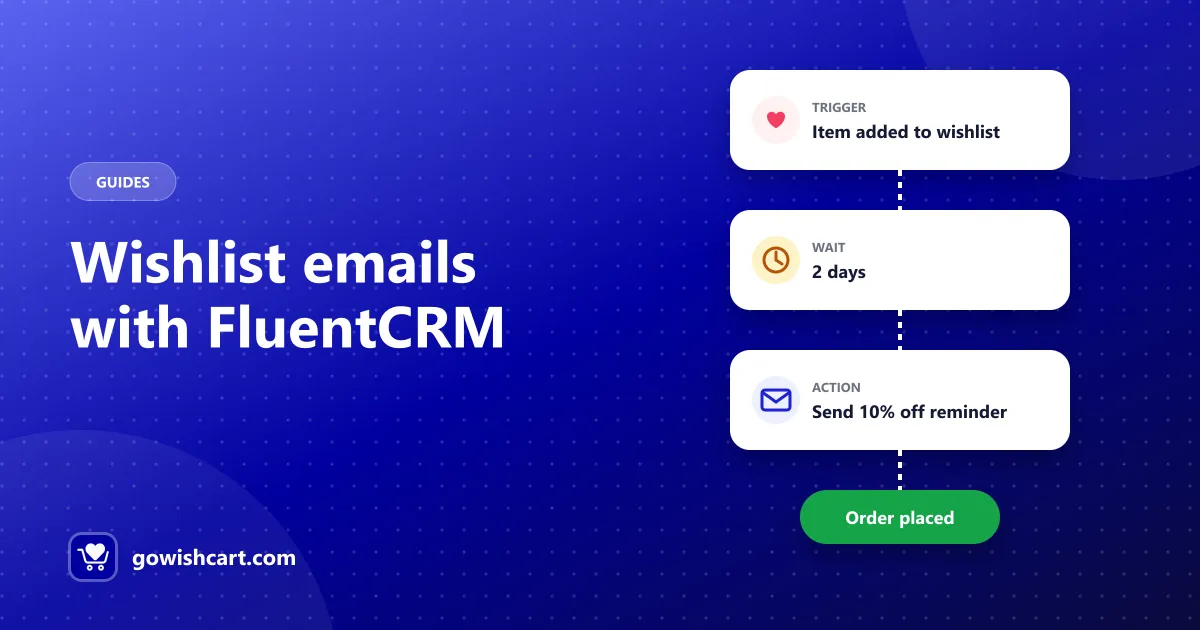
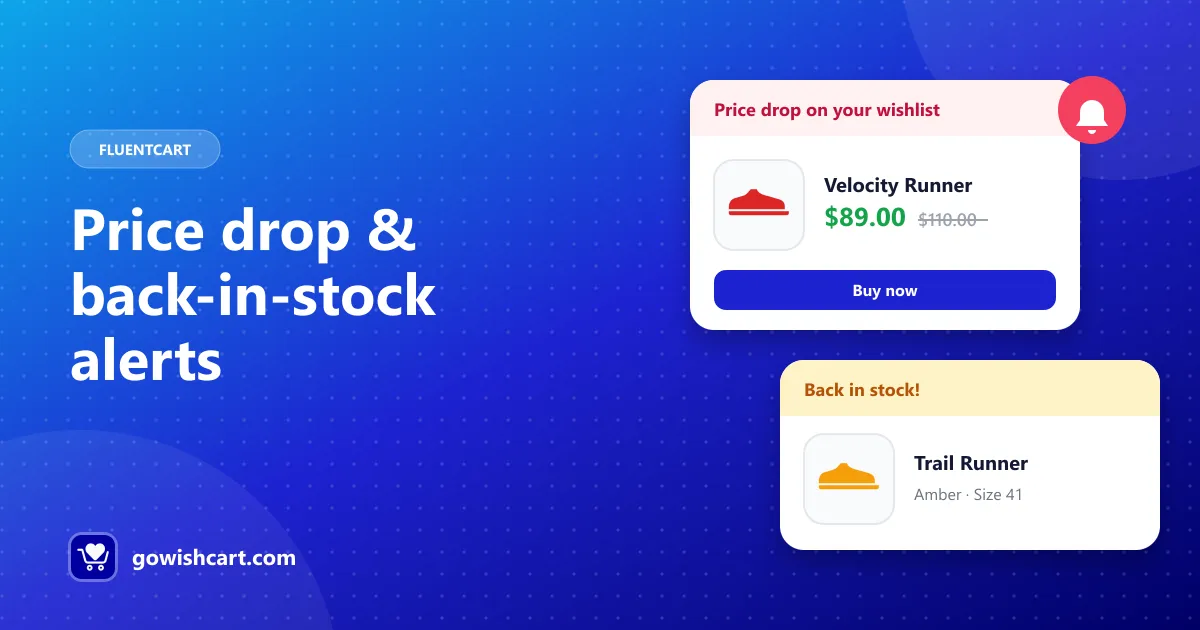
With the basics in place, turn on price drop and back-in-stock alerts and connect FluentCRM automations to start turning saved items into orders.
Frequently asked questions
Does FluentCart have a built-in wishlist?
FluentCart doesn't include a wishlist out of the box. GoWishCart adds one: an add-to-wishlist button, a wishlist page, guest support and notifications.
Can I put the wishlist button anywhere?
Yes. Choose top or bottom placement on product pages, enable it on shop pages, or use the [gowishcart_wishlist_button] shortcode to place it anywhere.
Do I need to code anything?
No. All options are in Settings → GoWishCart. Custom CSS is available if you want to fine-tune the look.

GoWishCart Team
We build GoWishCart, the free wishlist plugin for FluentCart stores. Questions about this article? Ask in thesupport forum.